GPZ: Batender lable templates
Step1
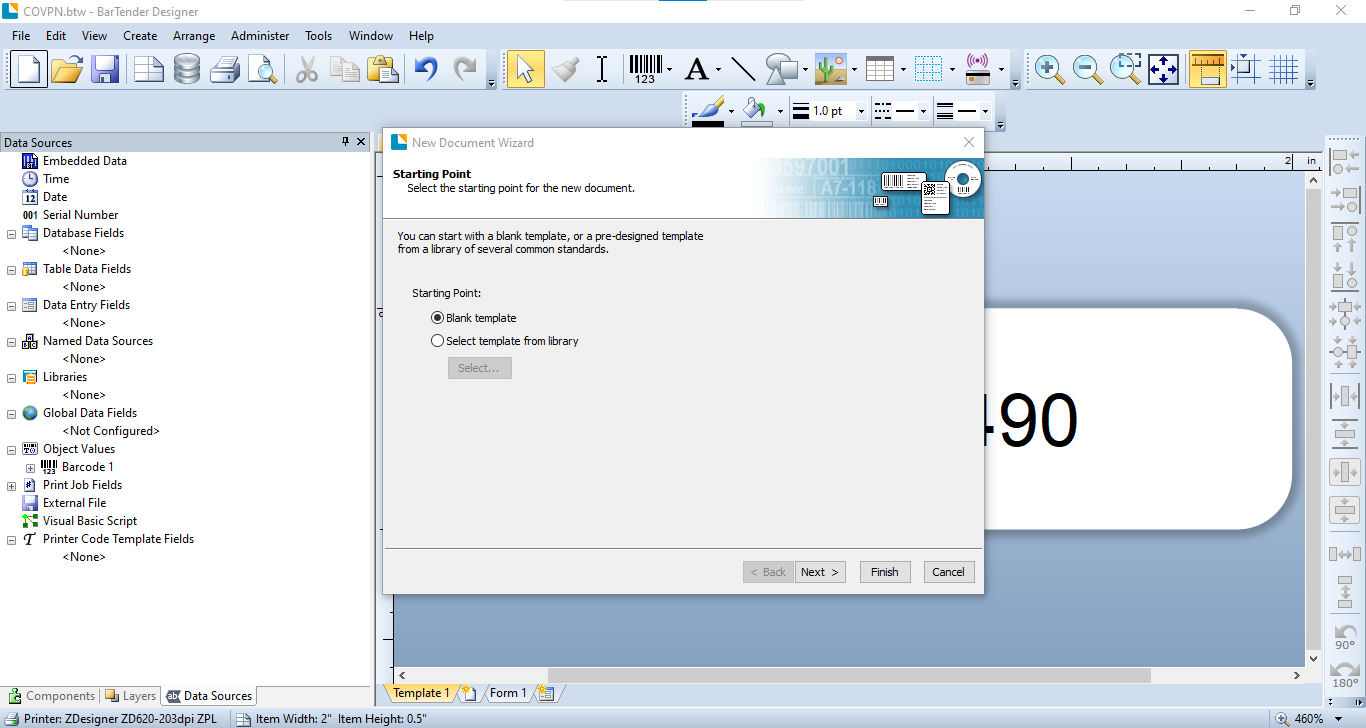
Open the Bartender program. You will be greeted by a new document wizard. Select blank template and hit next.
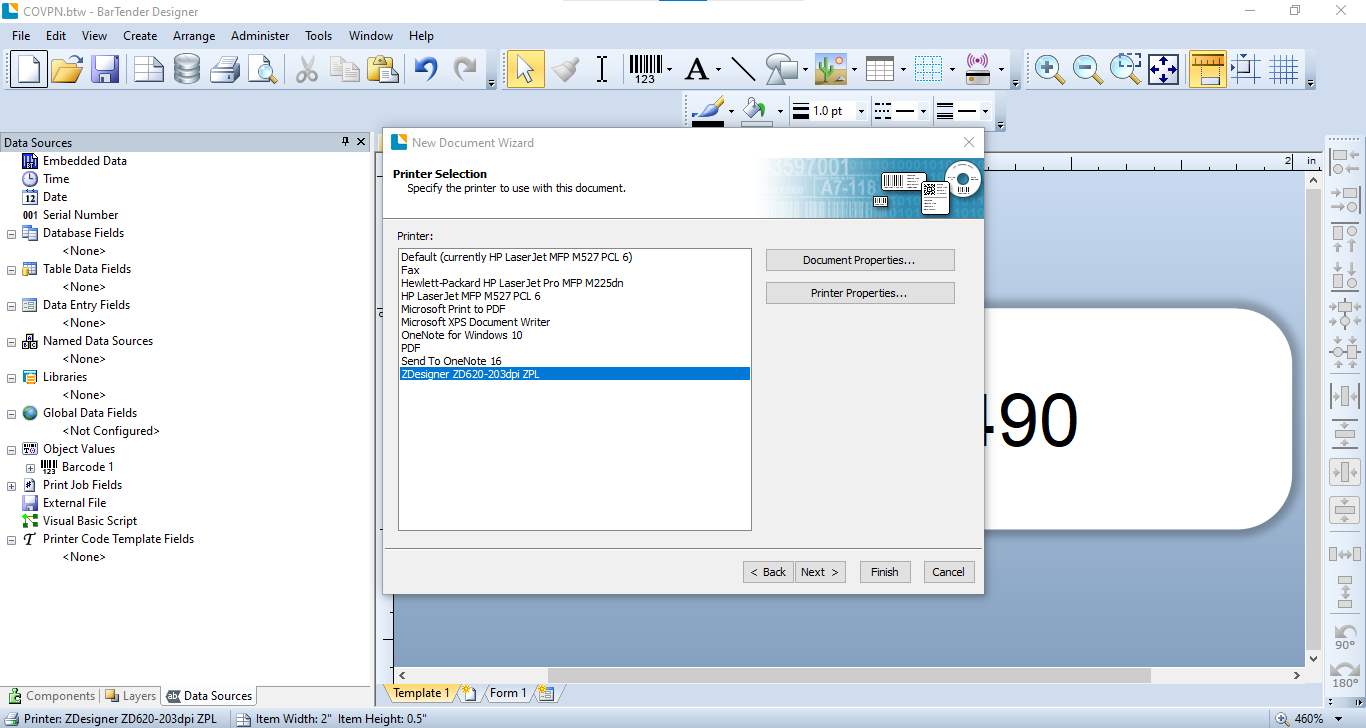
After that You will be asked to select the printer you will be using for printing the lables.
Select the Zebra printer installed and press next:
Step2
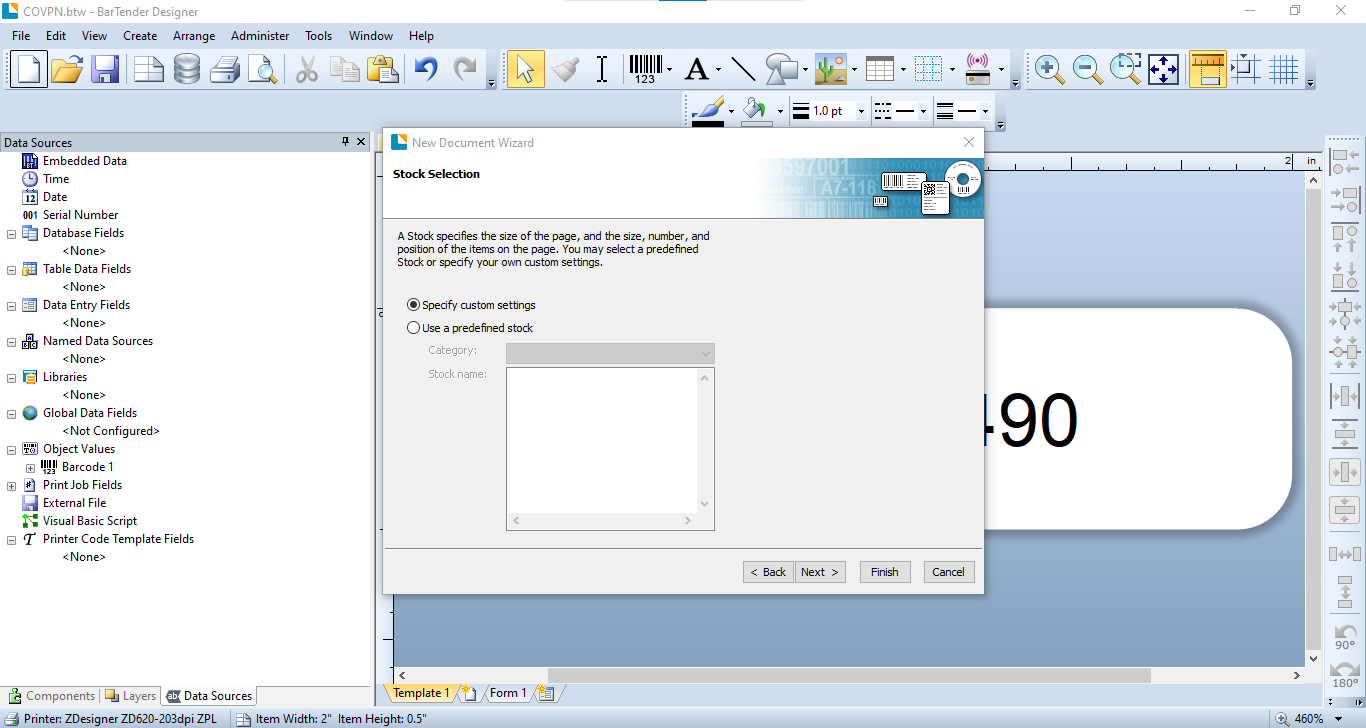
In the next screen you will be asked to either specify stock settings or select from predefined stock settings. Select specify custom and hit next.
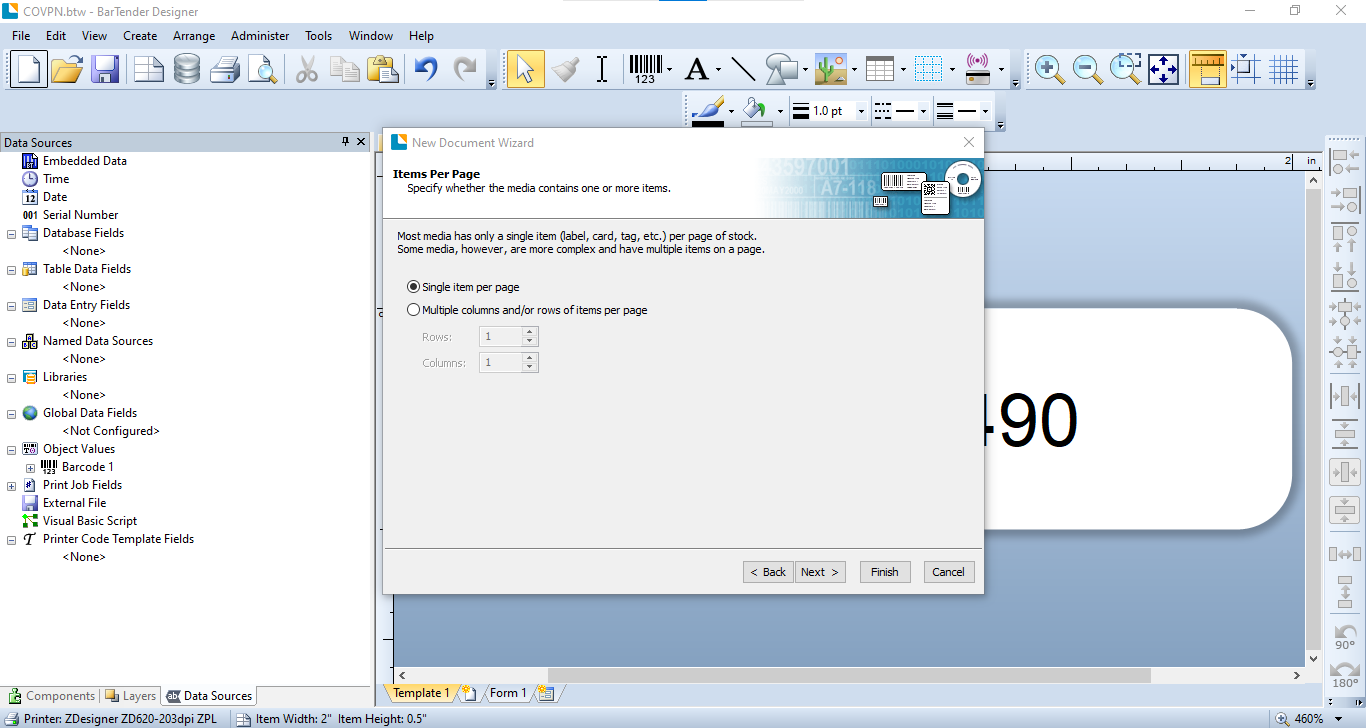
In the next screen select single items per page and press next:
Step3
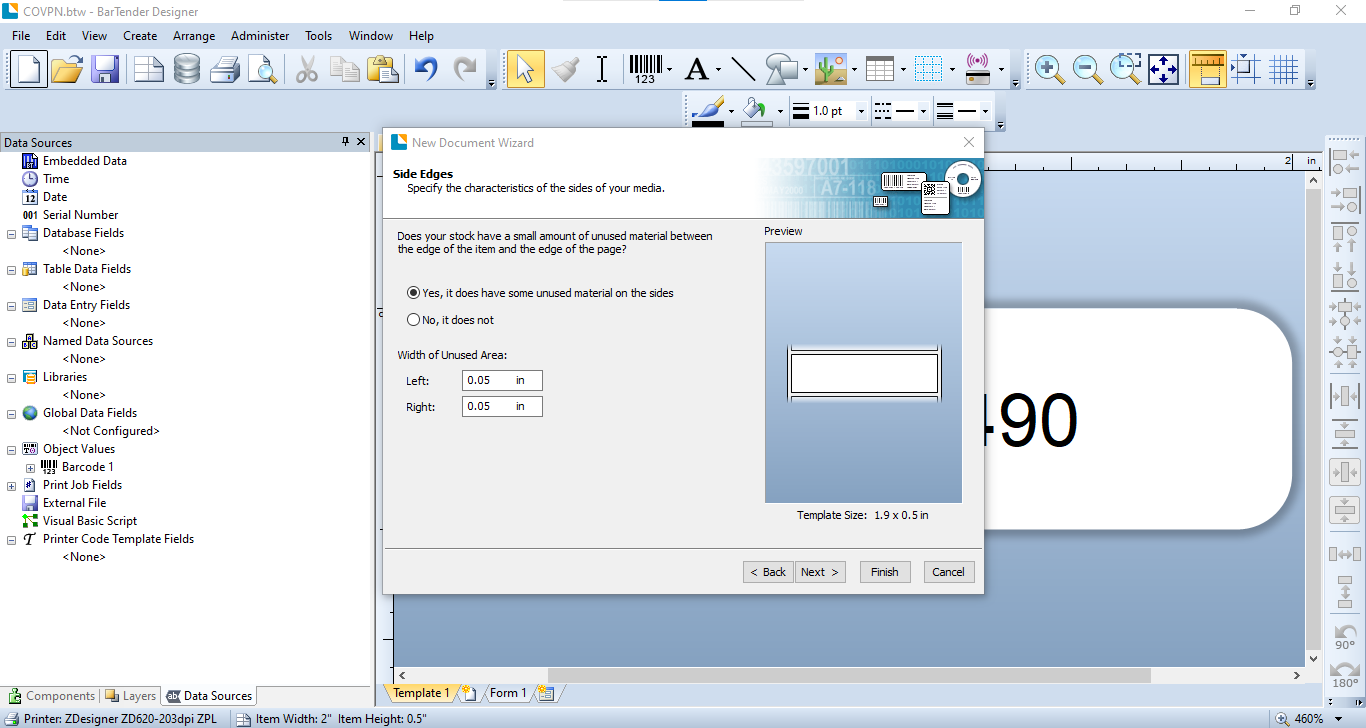
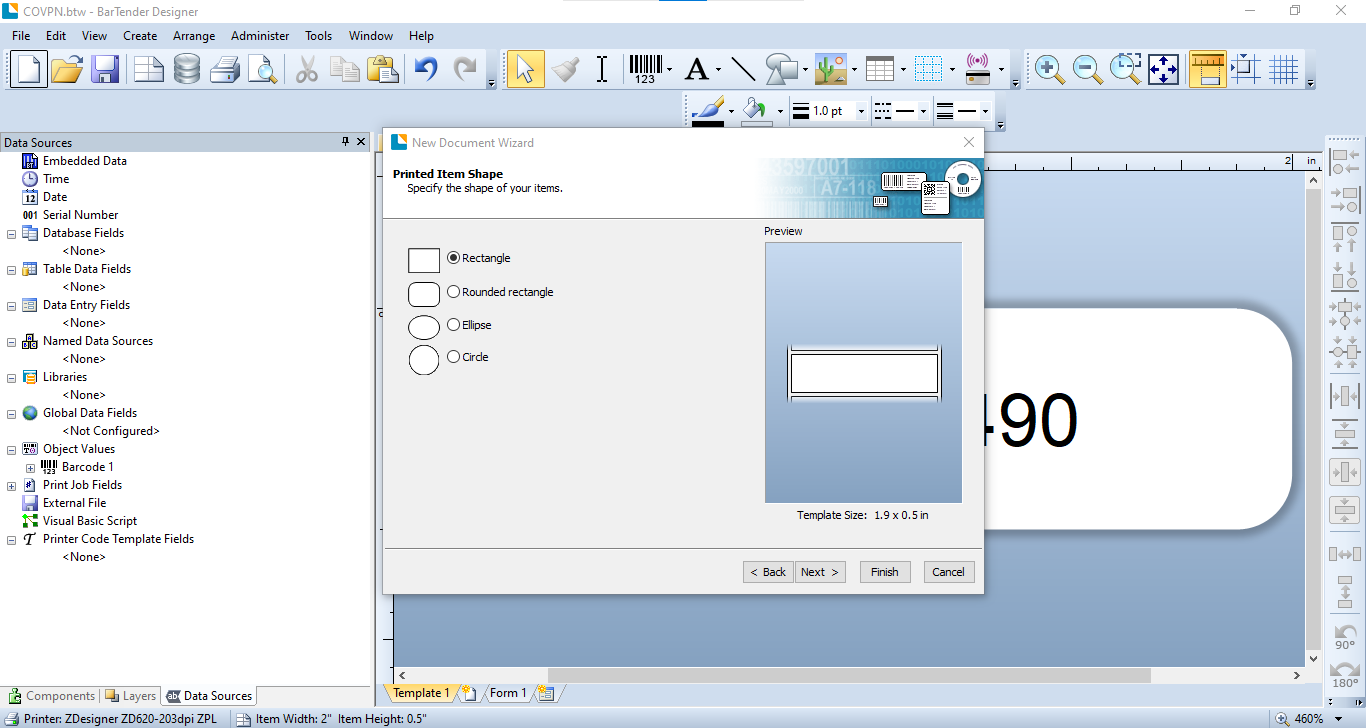
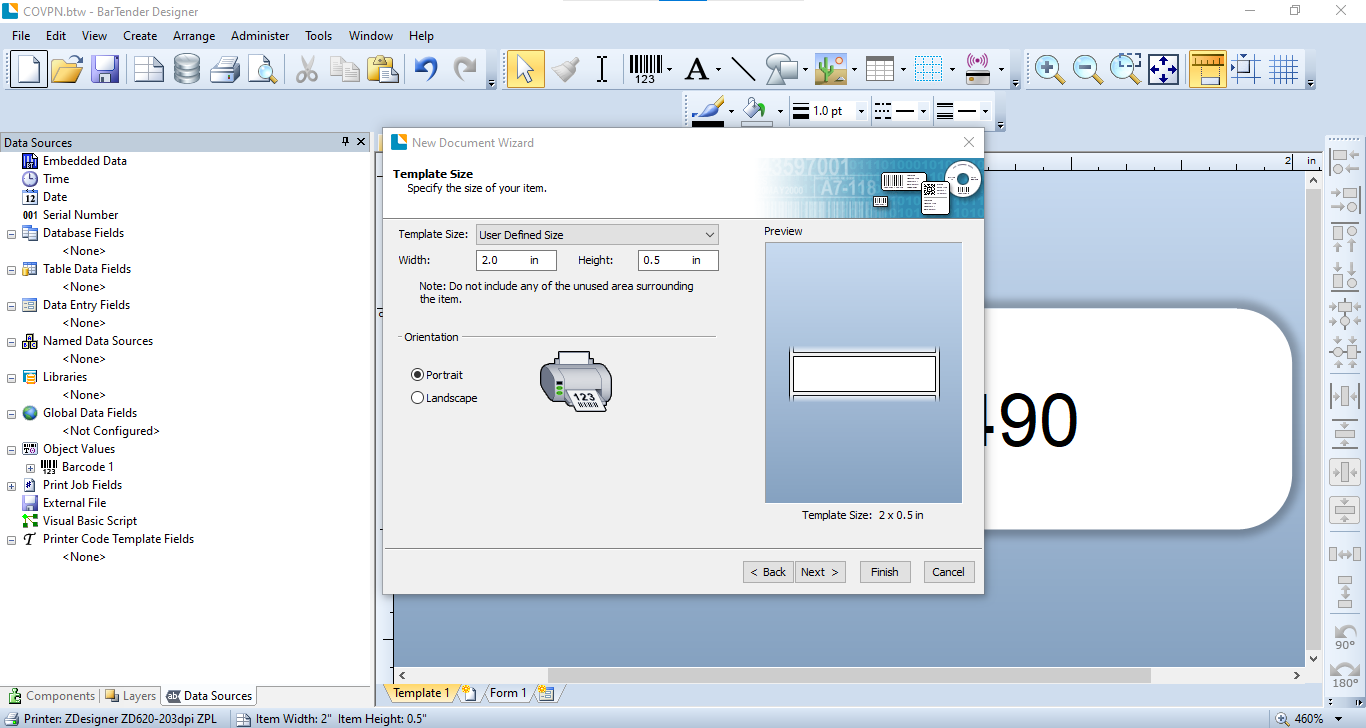
Please follow images below and press next for each step. If shape of lables is more rounded select rounded and hit next
Step4
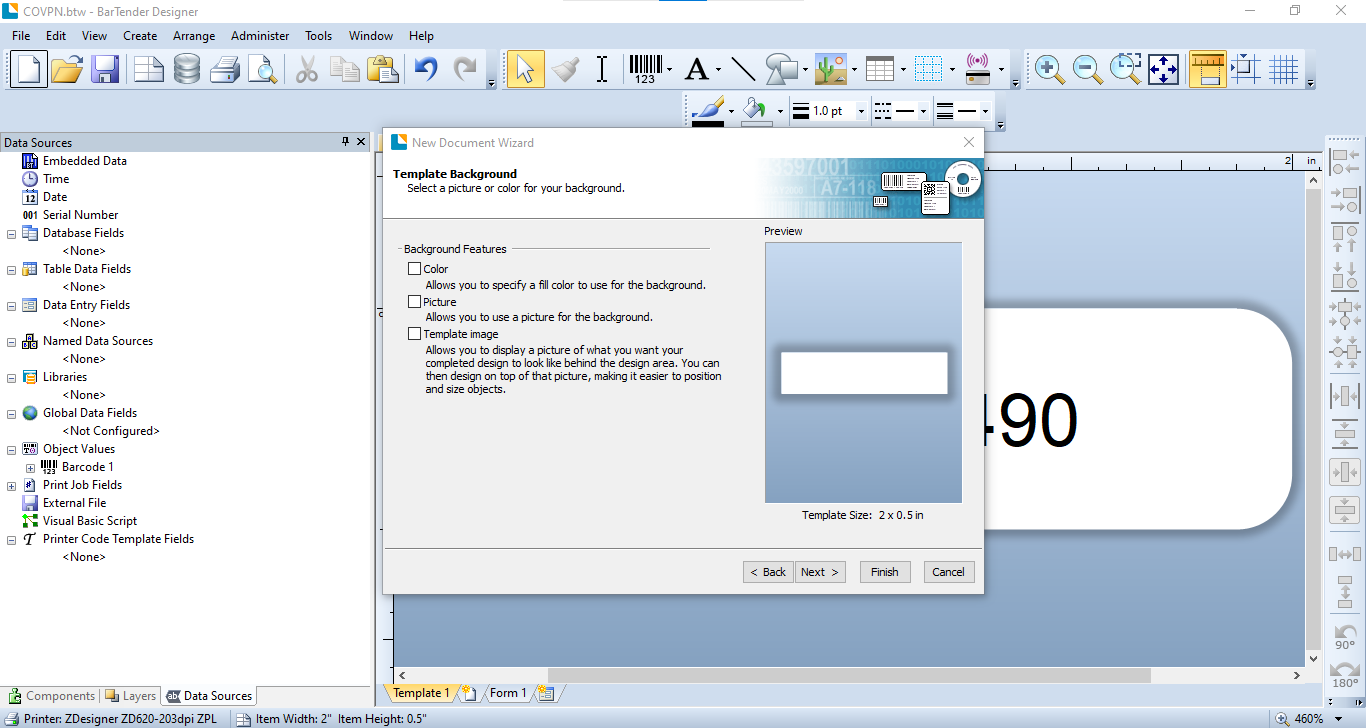
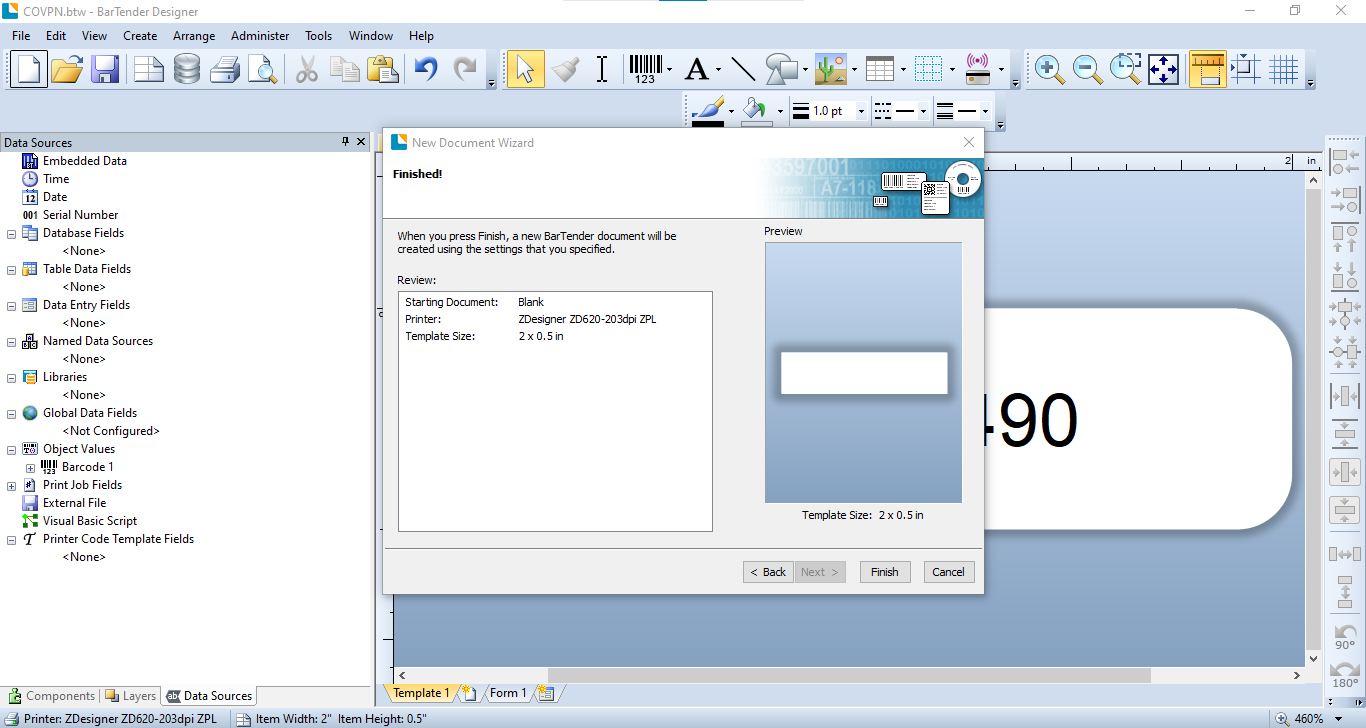
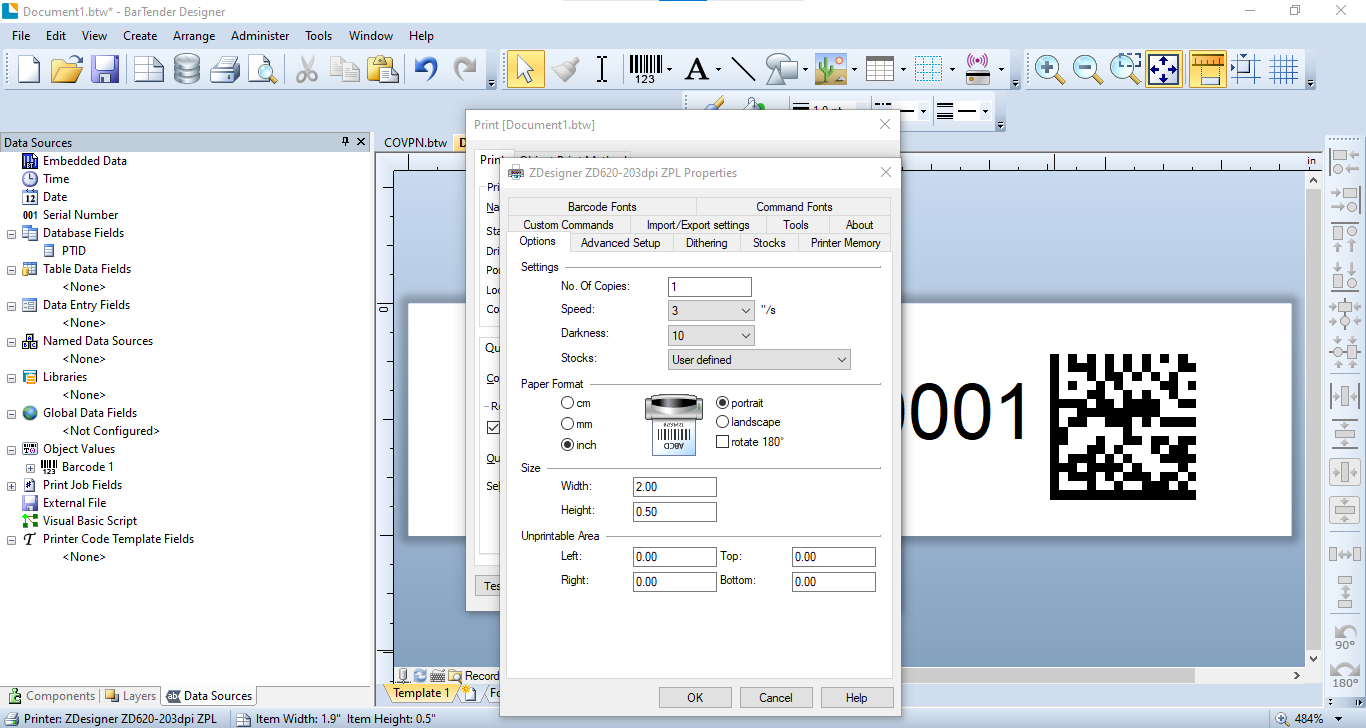
Use template size in image and do not apply any background in the next part
Step5
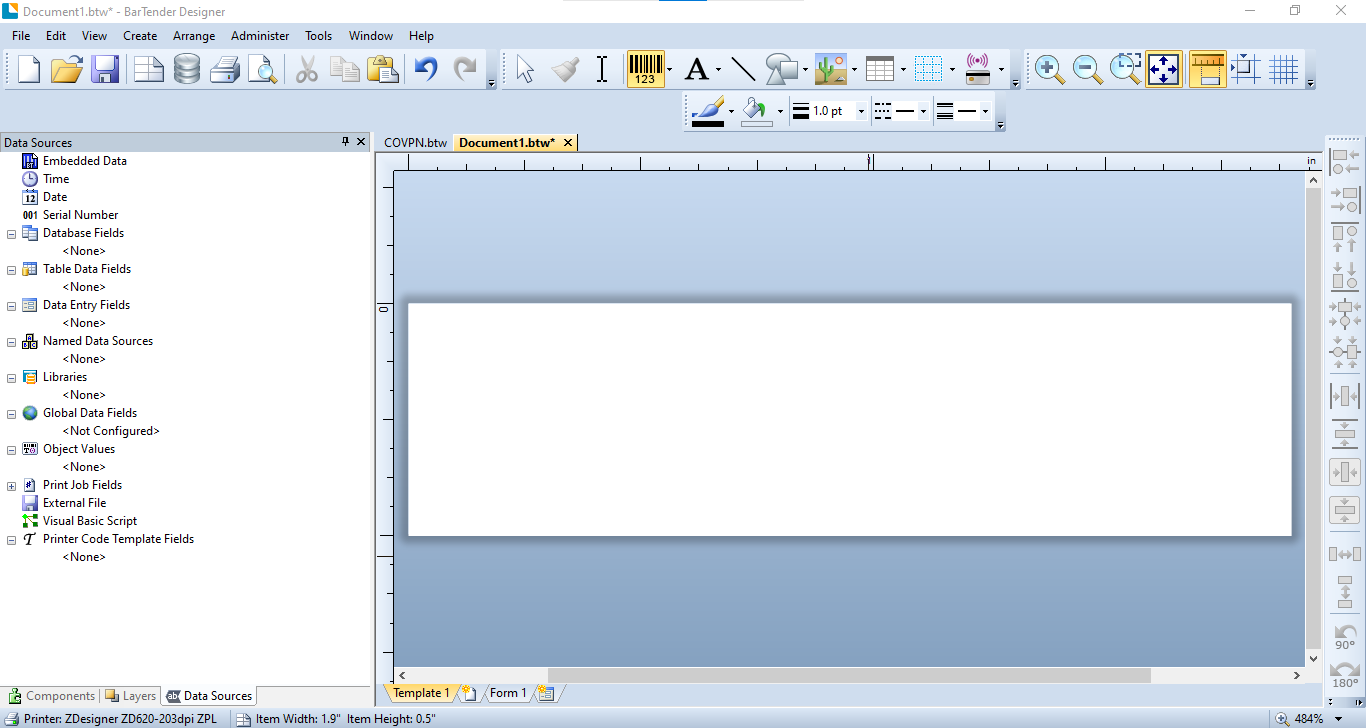
Select finish and a new blank barcode will appear:
Step6
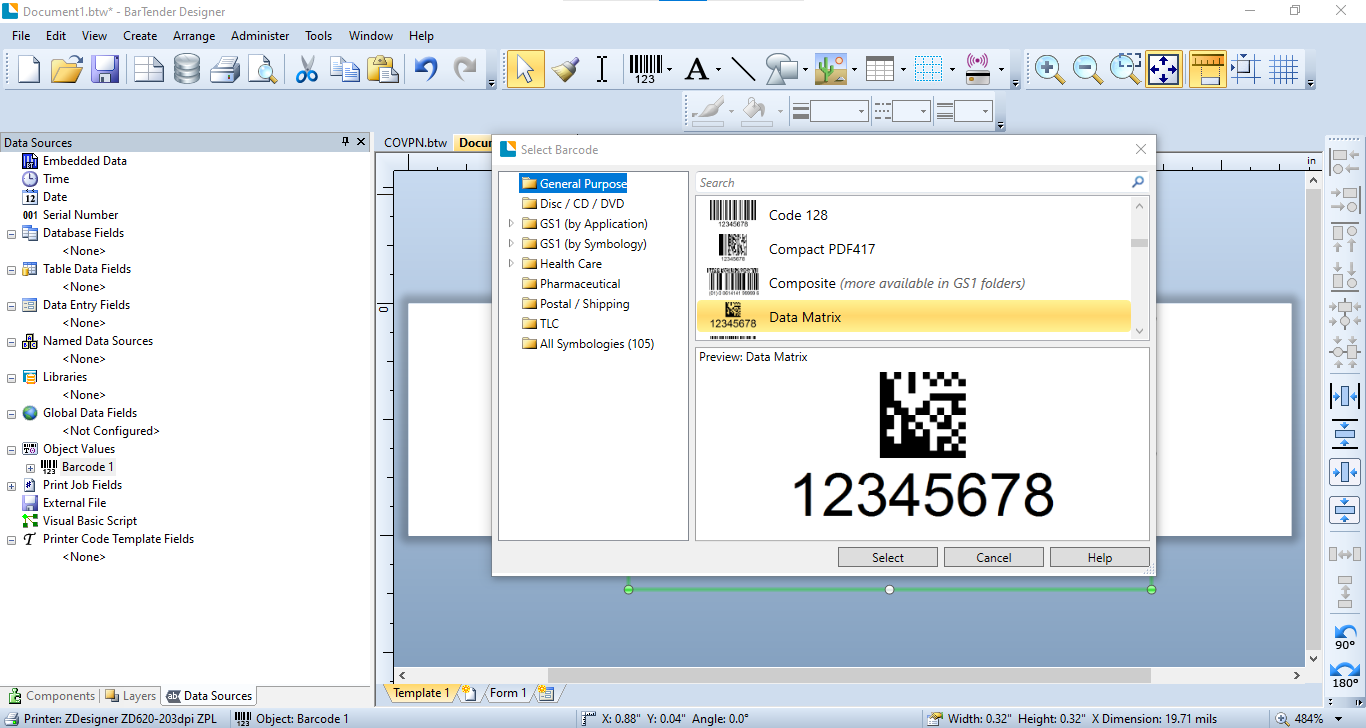
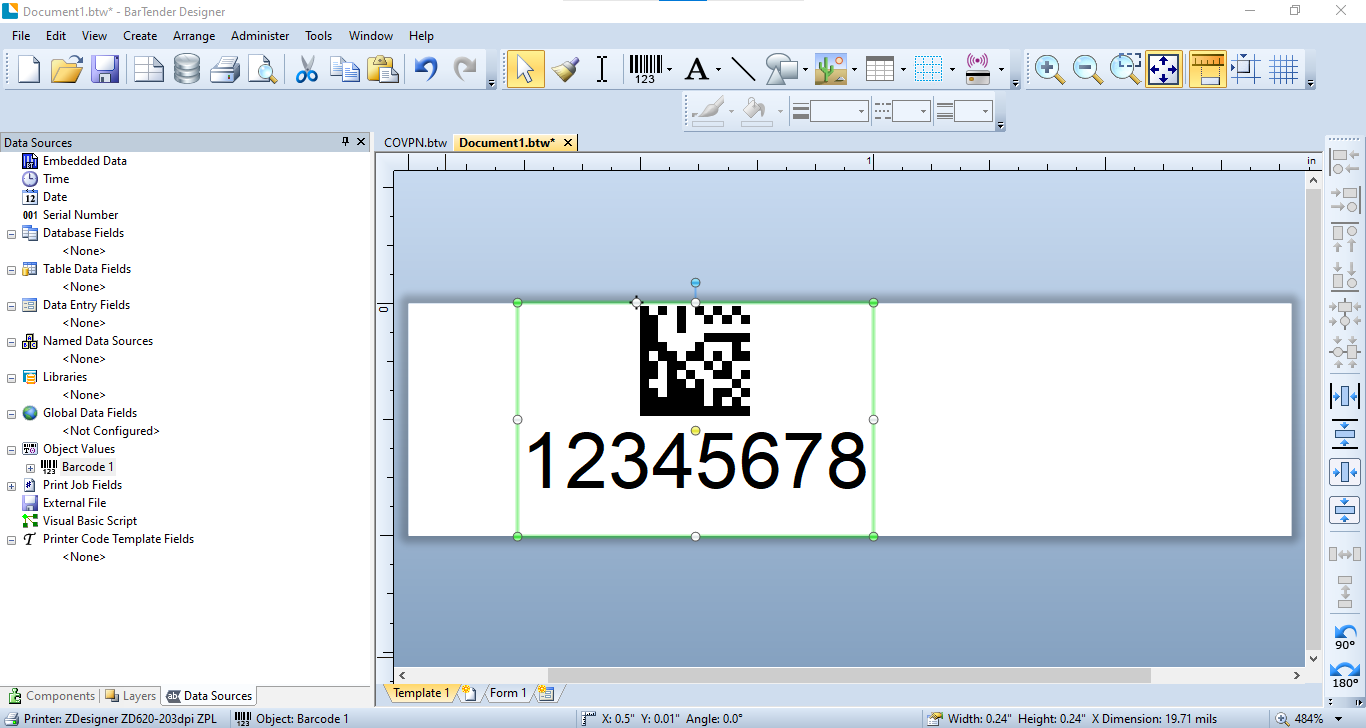
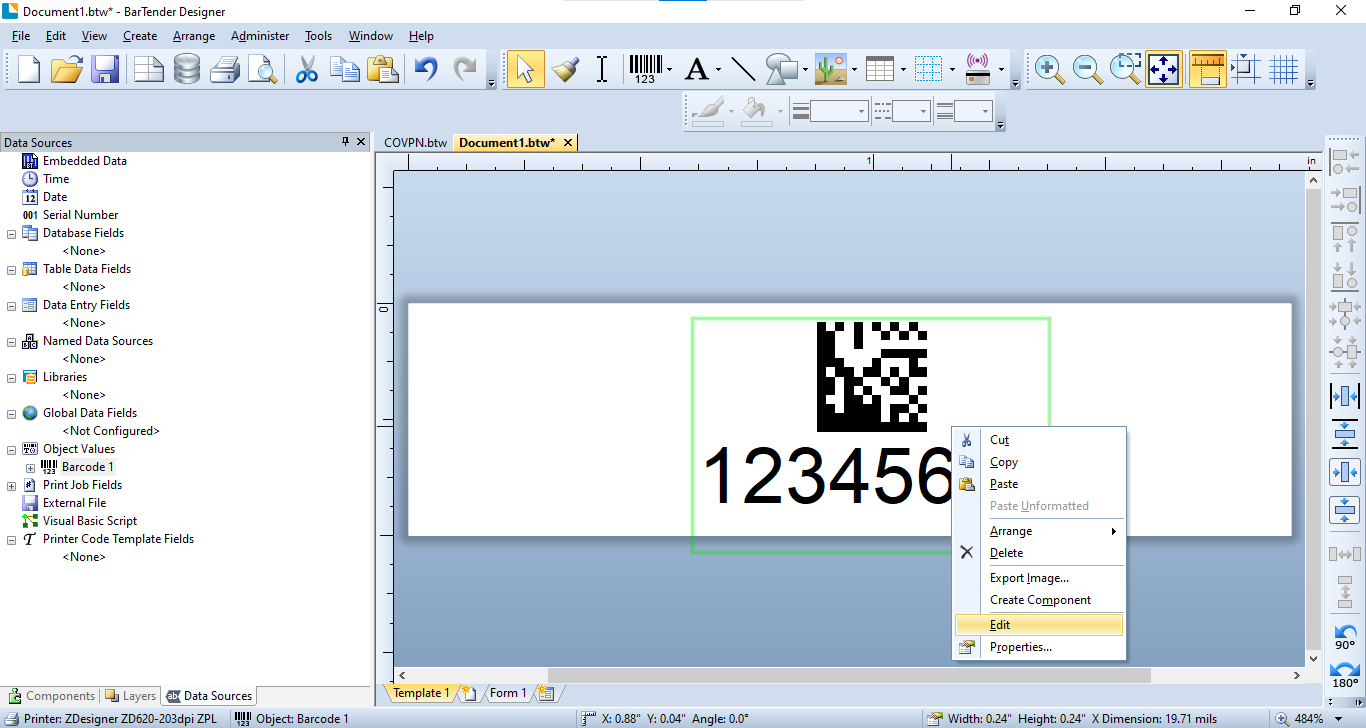
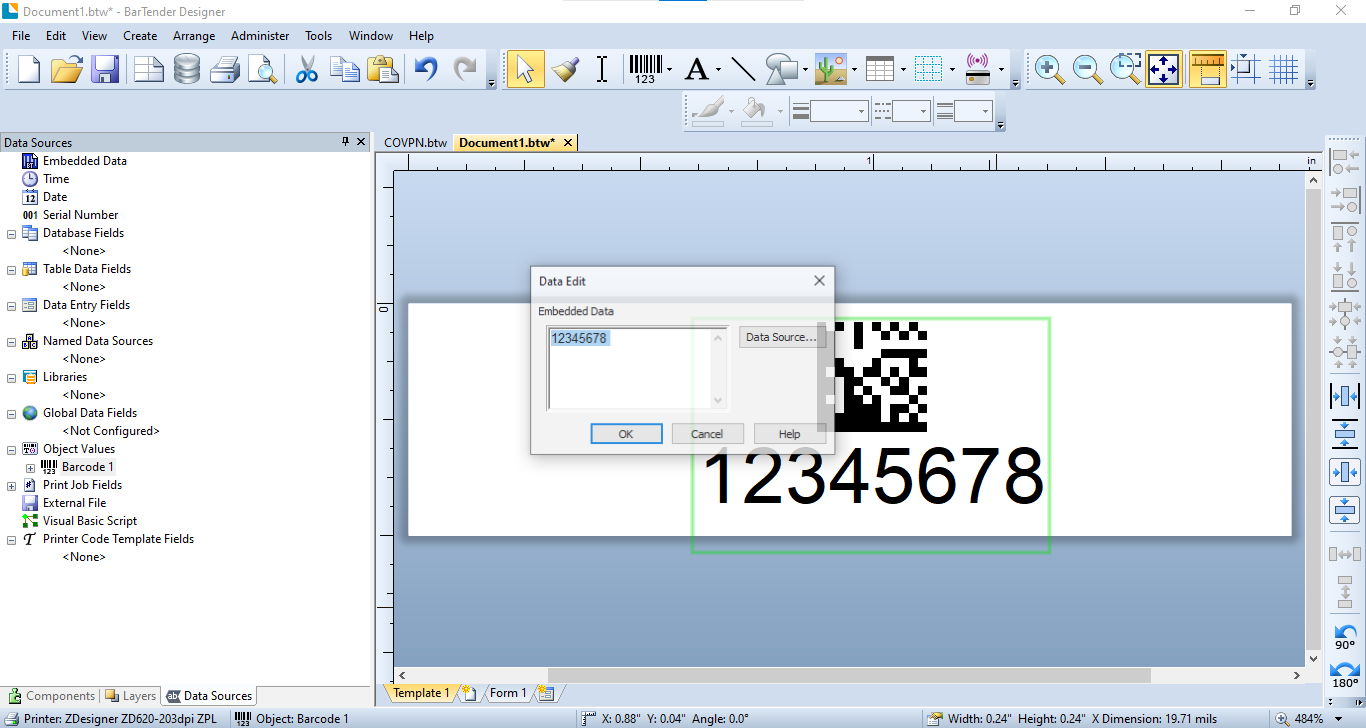
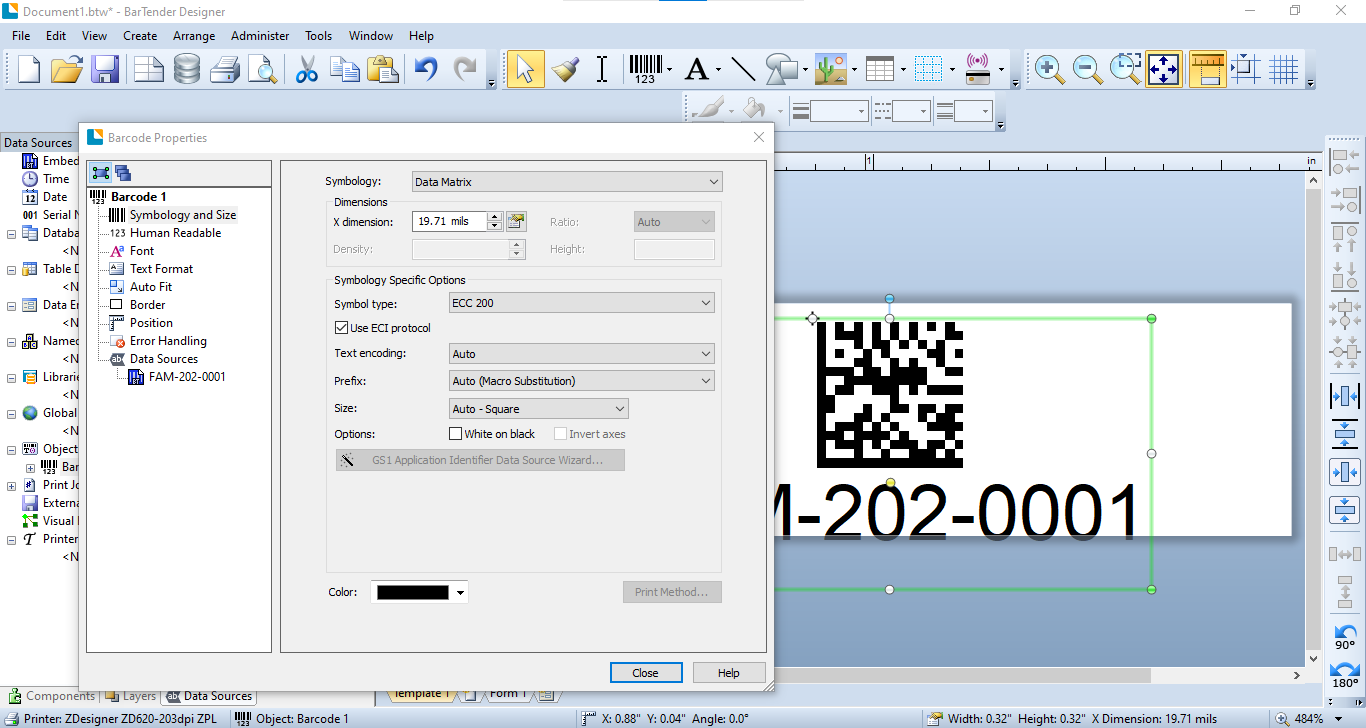
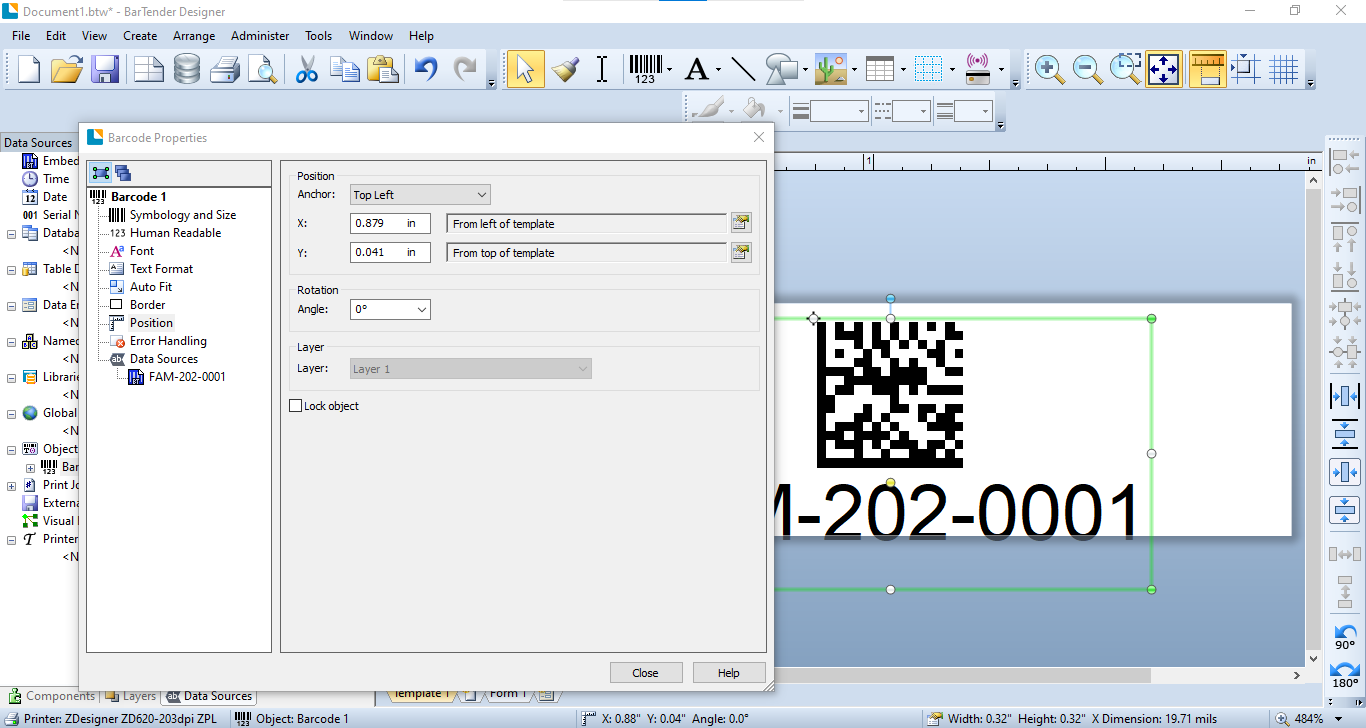
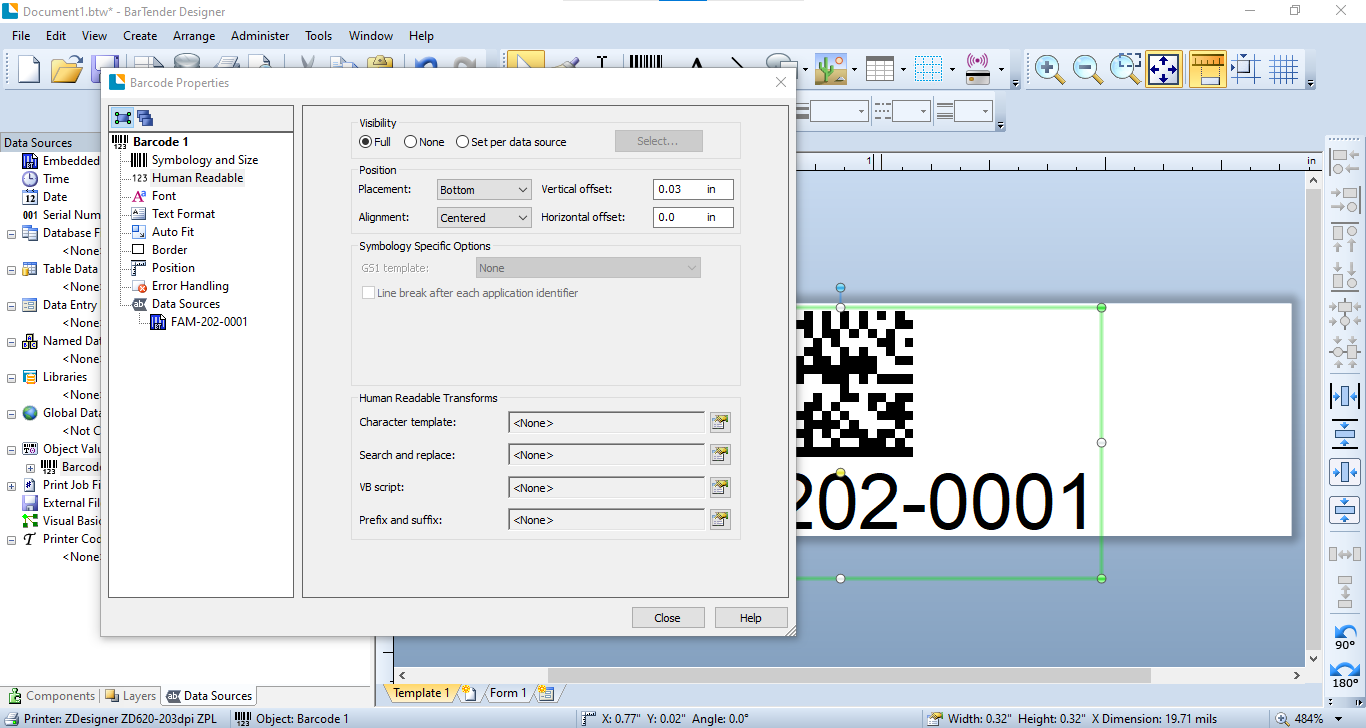
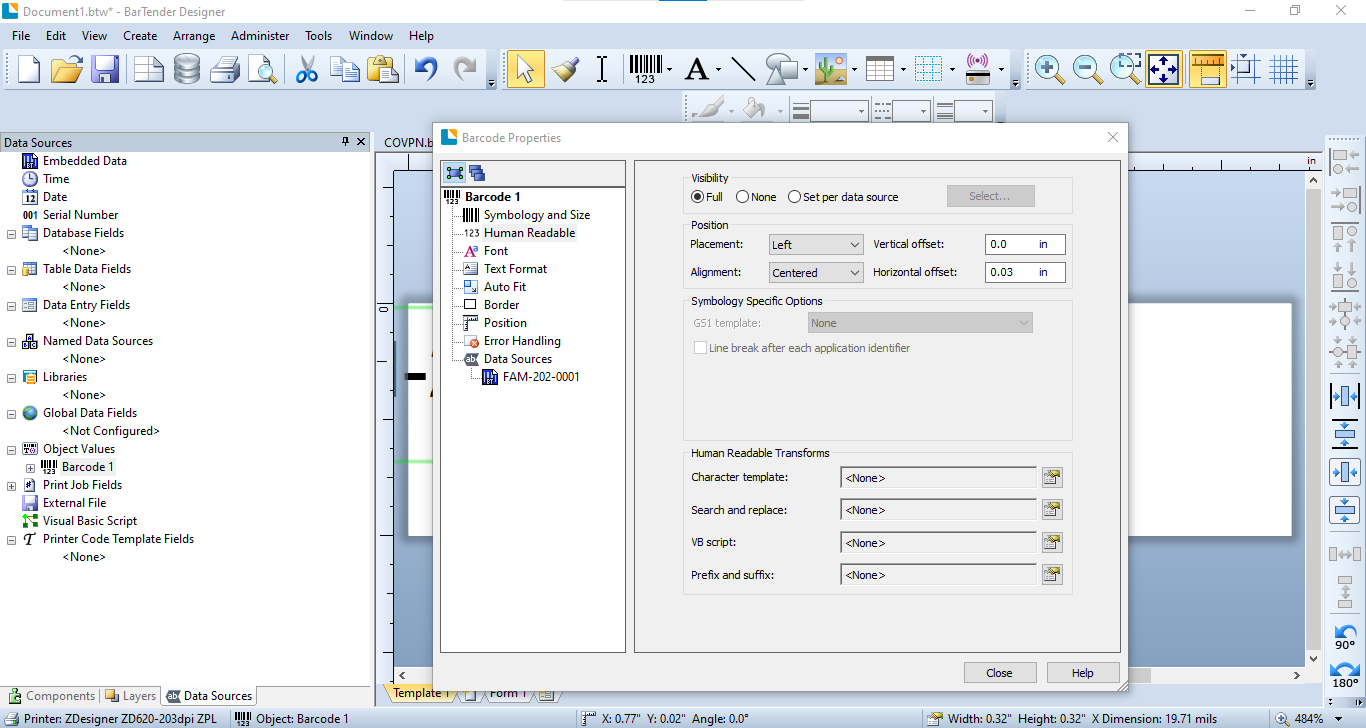
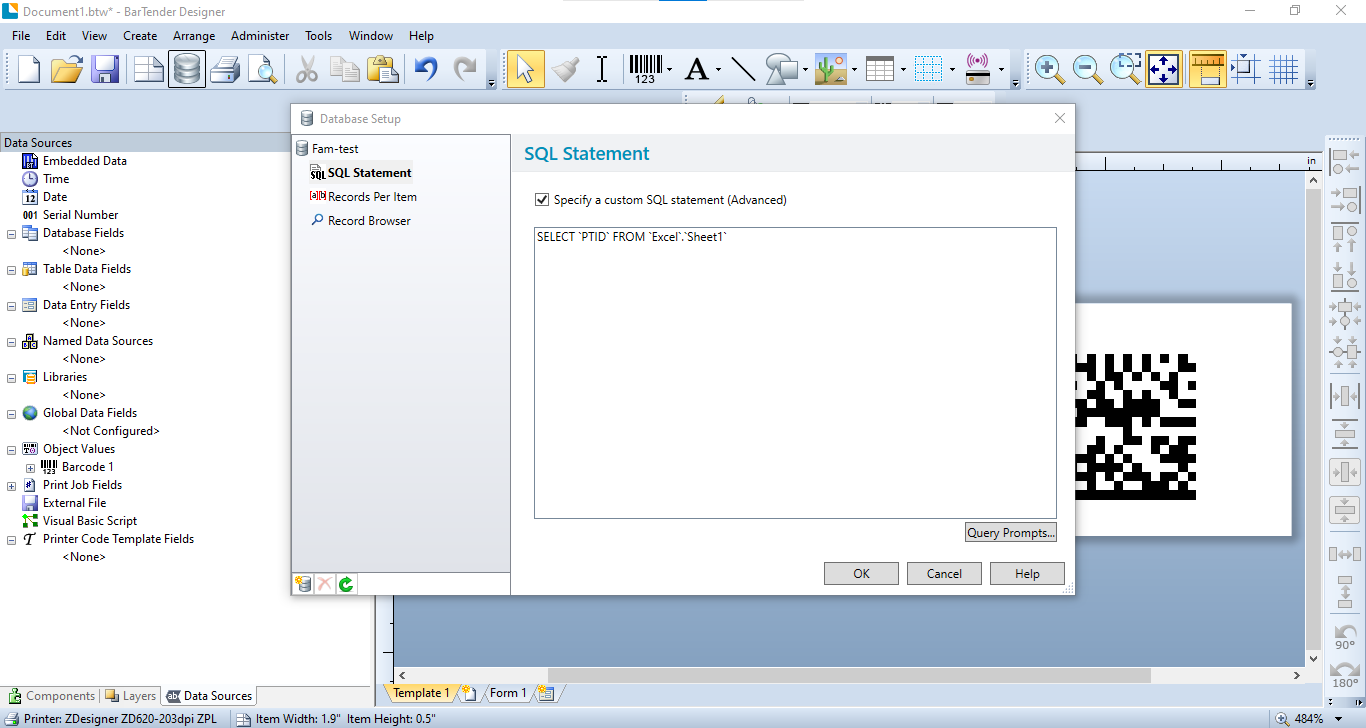
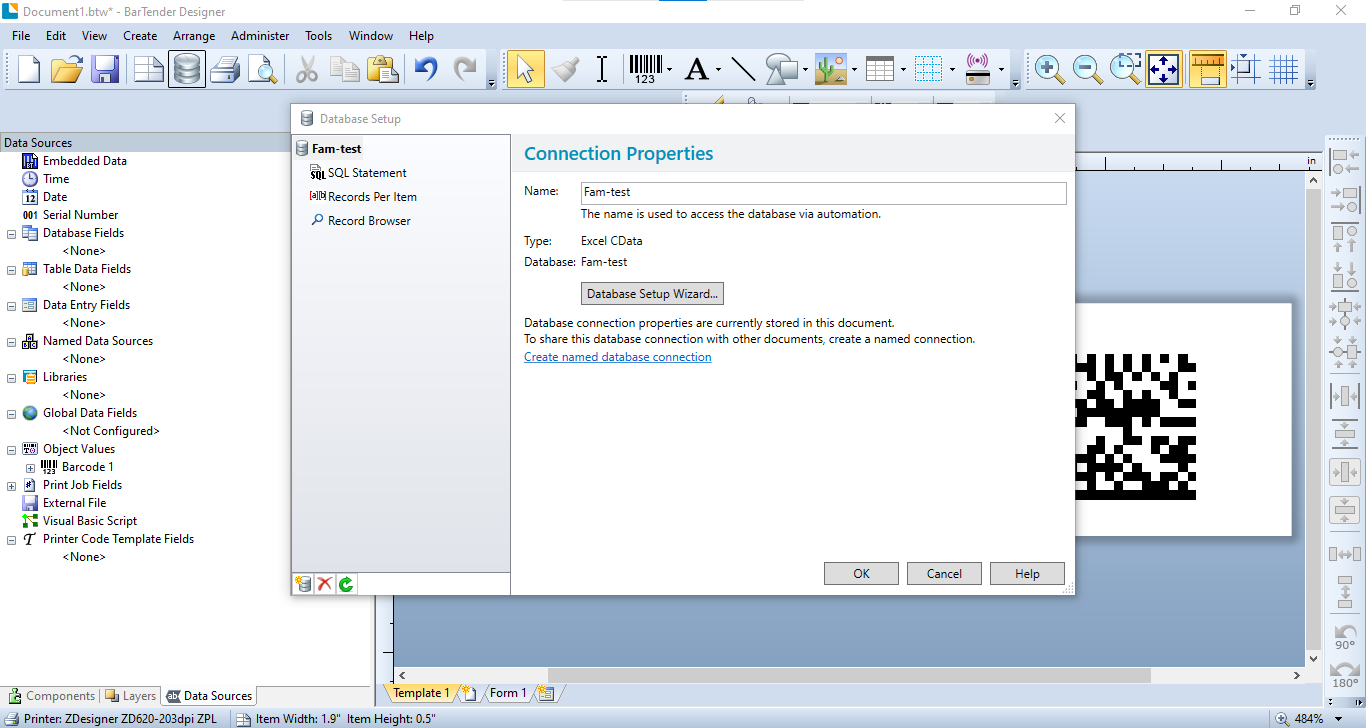
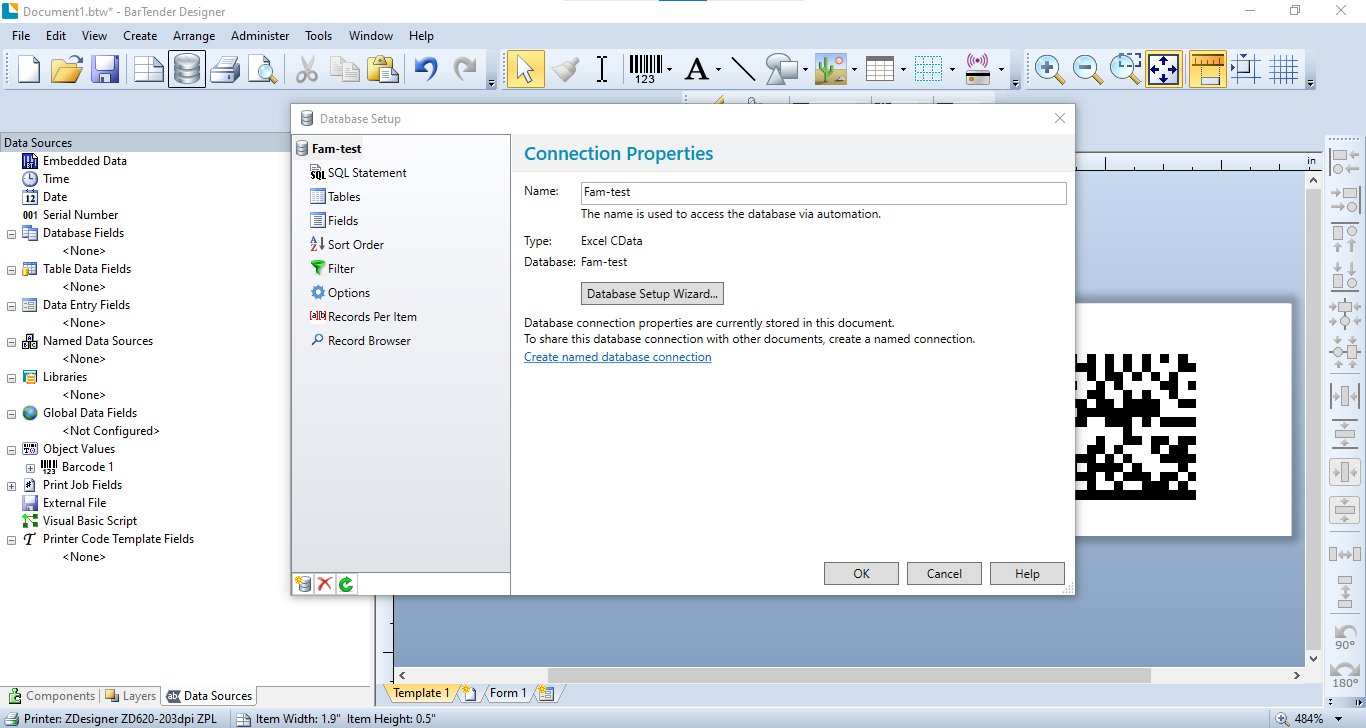
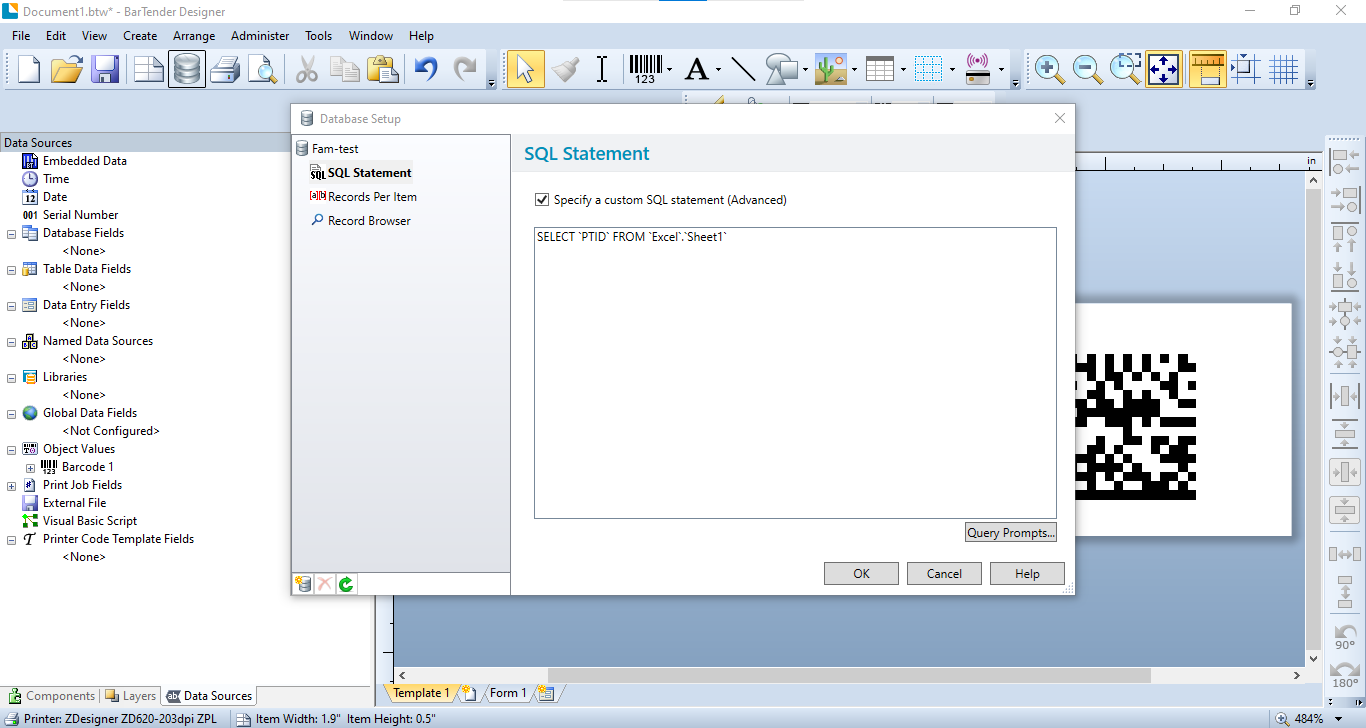
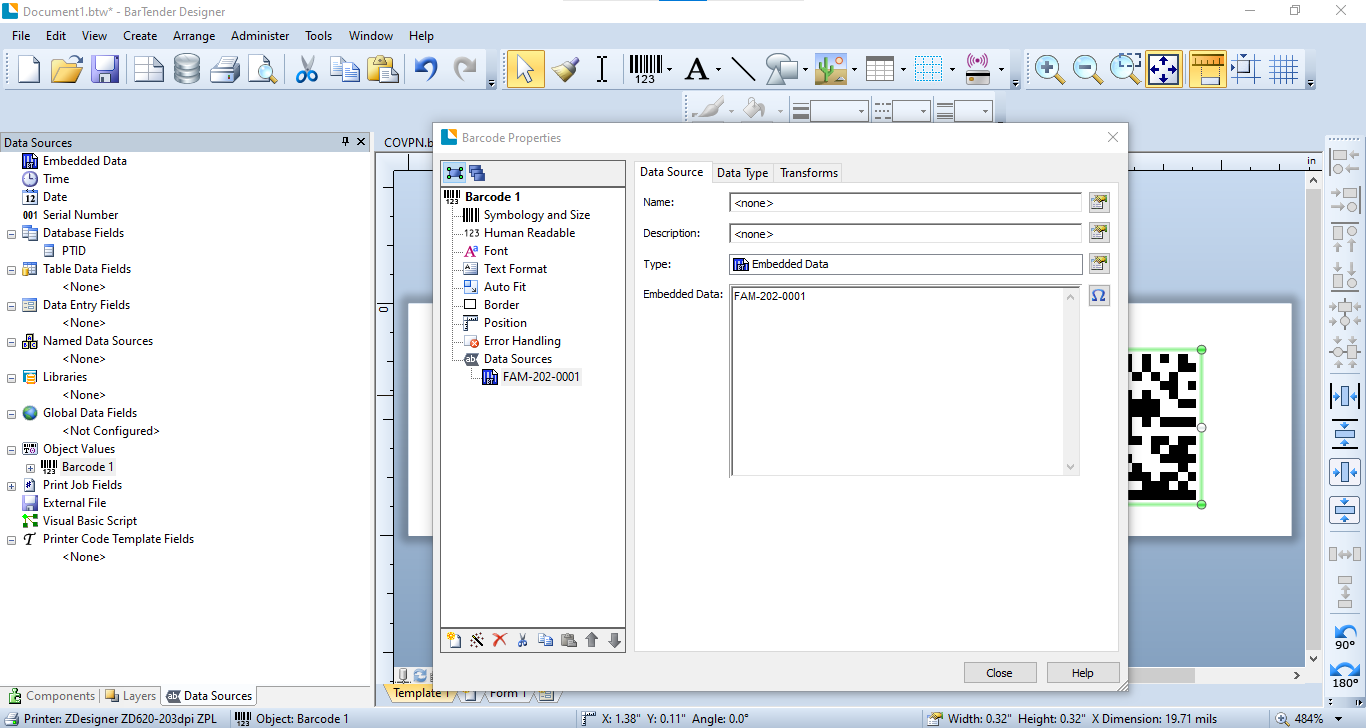
To insert a barcode select the barcode icon and pick datamatrix or barcode of your choice, in the next step right click the inserted barcode and select edit to type in characters:
Step7
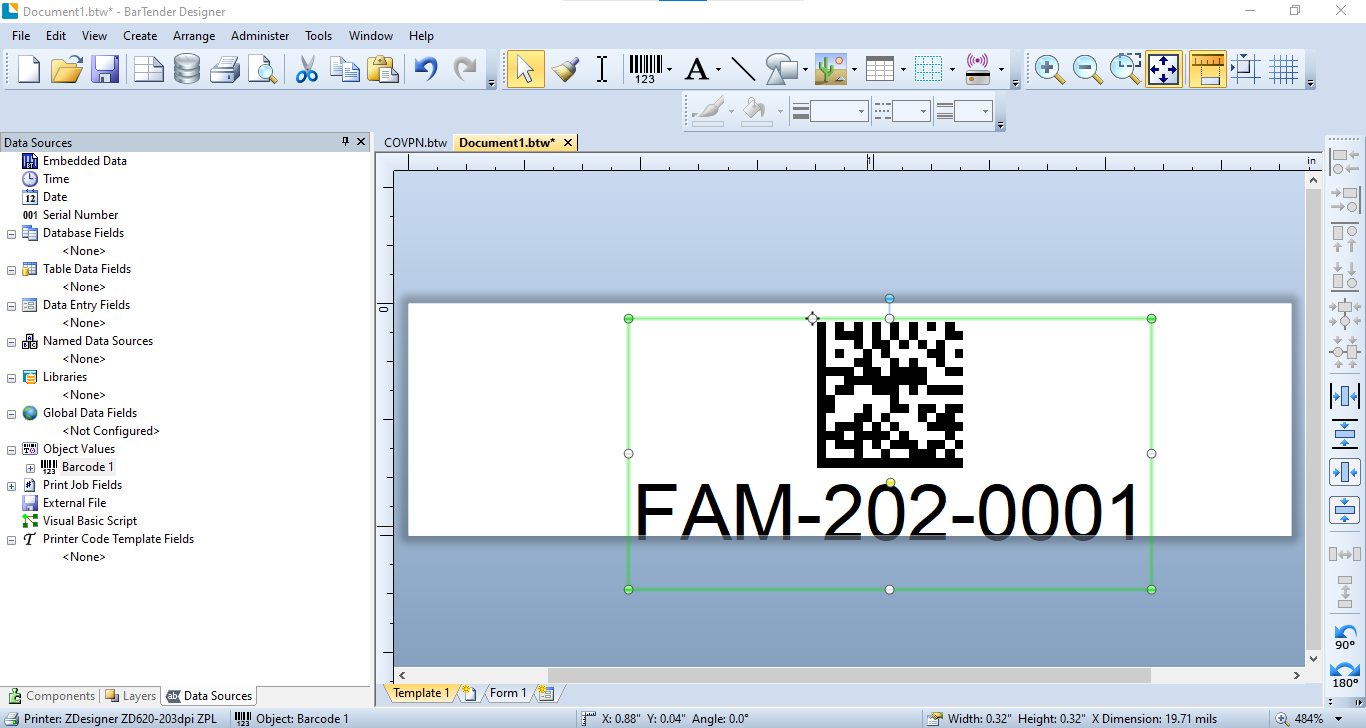
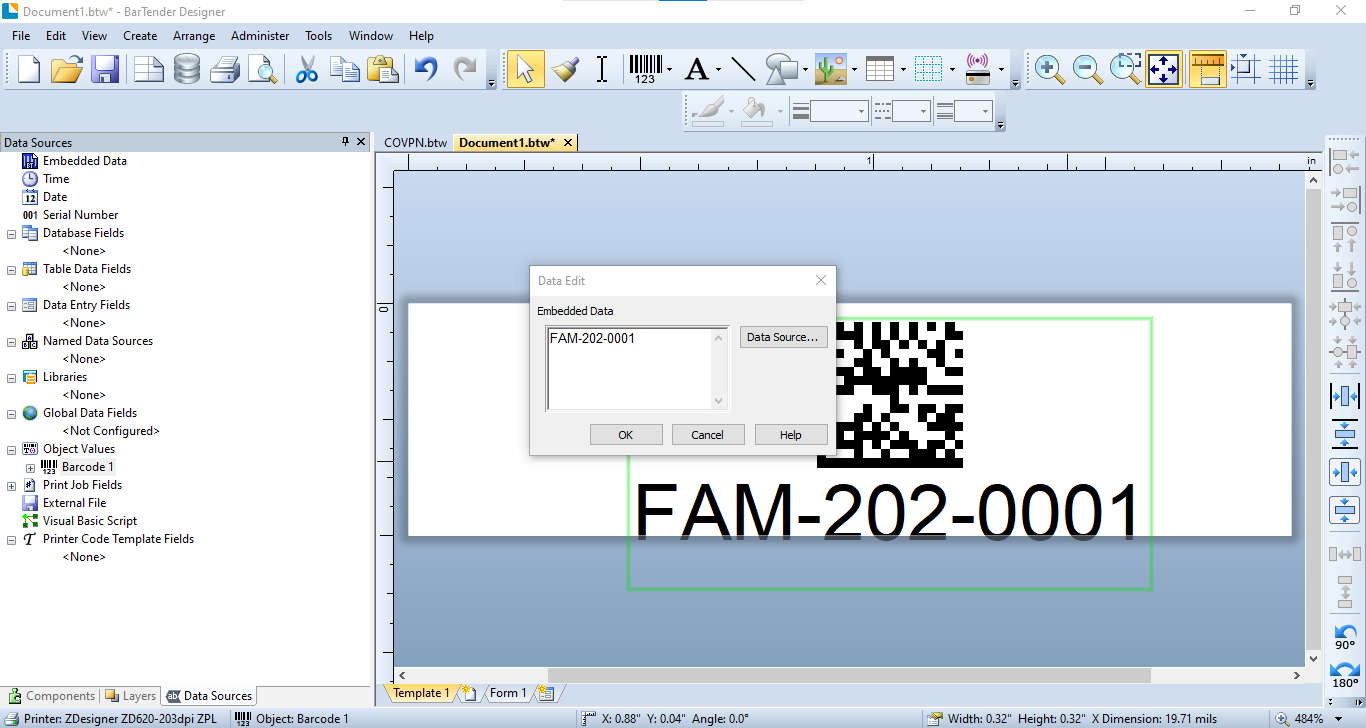
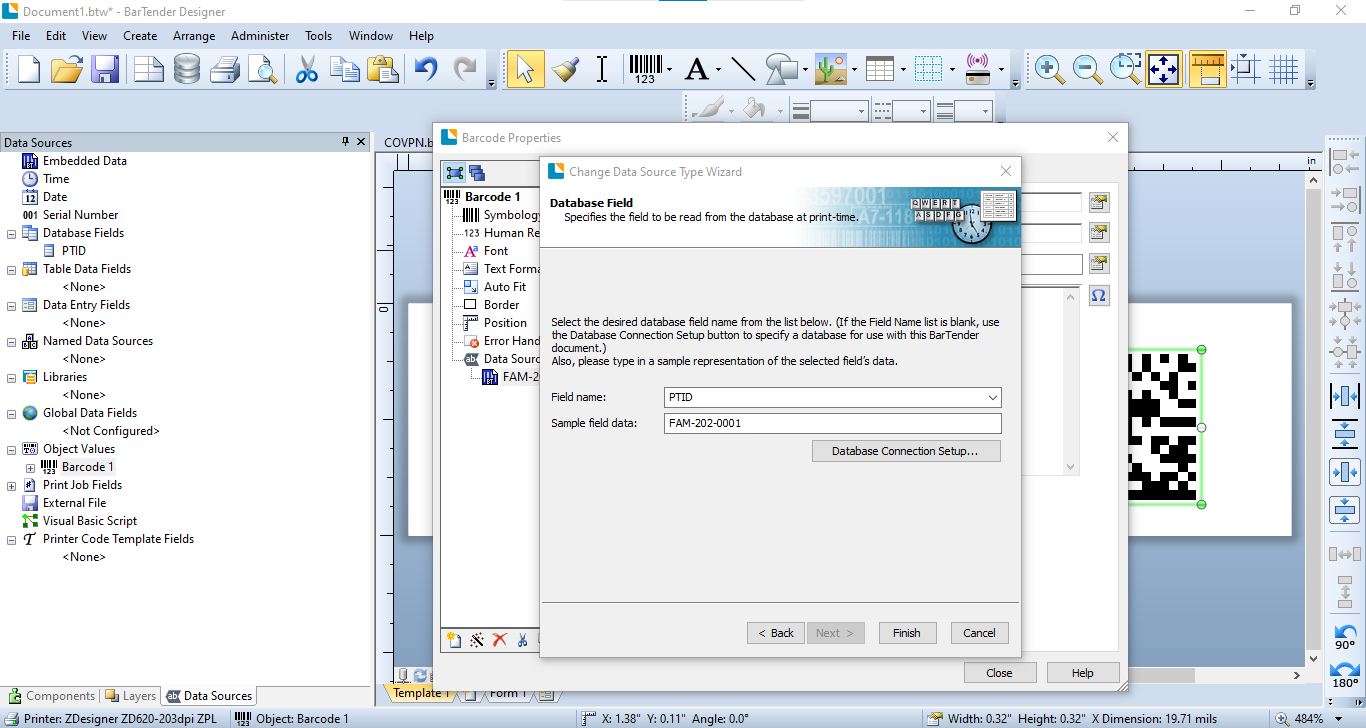
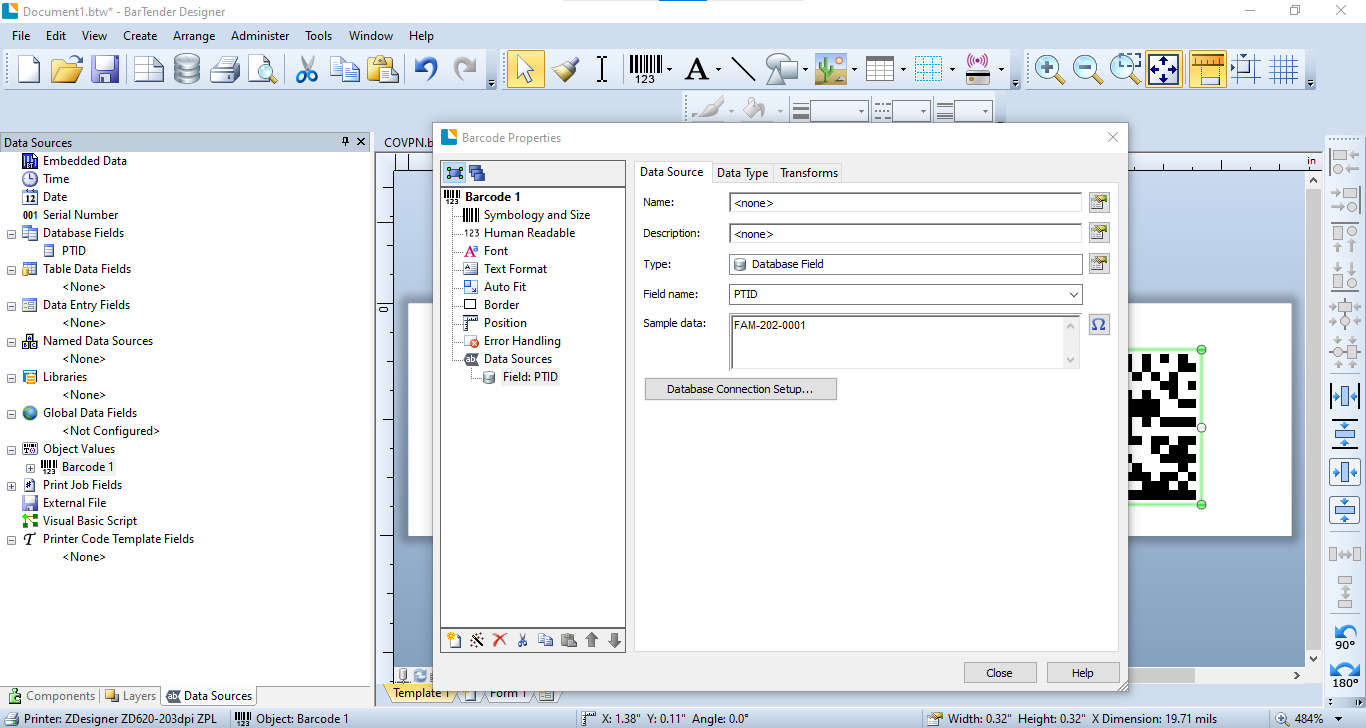
In the first image you can see the pop up that appears when editing the characters of the barcode. When ok is pressed the new charactors appear on the lable
Step8
Step9
Step10
Step11
Step12
Step13
Step14
Step15
Step16
Step17
Step18
Step19
Step20
Step21